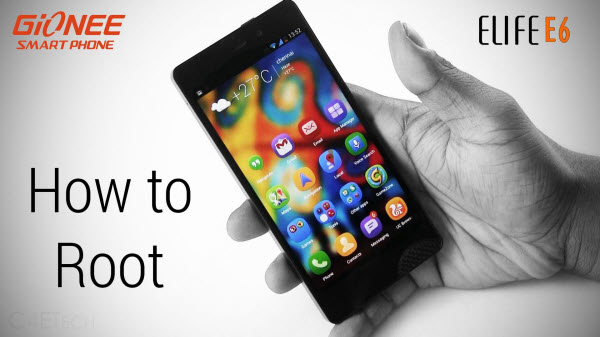
Root Gionee Elife E6 and Install ClockworkMod (CWM) Recovery

GioneeElifeE6 is descent handset, and certainly looks sleek and elegant. At first glance, it seems that the design inspired by the likes of the iPhone and it gives a feel of premium build. The device is Full HD, but according to reviews, the screen is not as impressed by performance. As far as we believe on various reviews, it seems that the device would do better if the company made it a 720p device. For instance, the 720p display on Gionee Elife E5 worked better, and looks bright and with stunning colors.
The major reason behind the problem of Gionee Elife E6 is the processor and GPU, since the processor is Quad Core A7 28 nanometer running at 1.5 GHz, while the GPU is tweaked at just 357MHz which make it lacking the performance. We tried to reduce the resolution of E6, decisively we got better performance, and the high-resolution games including Modern Combat 4 were running fine. If you also want to change the screen resolution of your Gionee Elife E6 display, then you can do this by rooting the device. In the next part of the article, we will be telling you to Root your Gionee Elife E6 and also Install ClockworkMod (CWM) recovery. Just follow the steps mentioned below.
Table of Contents
Prerequisite
You must have to make sure that prior to rooting your phone, you have read thoroughly the disclaimer and you agree to go ahead on your risk.
- Phone Should be Charged.
Your phone must be 70% charged at least else, it may lead to complications sometimes while experimenting. Why take risk, try to charge it fully.
- Back Up
If you are either going to root your phone or install a Custom ROM, it is a good habit to make a backup of your phone. Make a backup of all your media like images, videos and all of your PC and your contacts on Cloud.
- Enable USB Debugging
You must enable USB debugging option by going into Settings, Applications and Developer options.
Disclaimer: The AndroidWeblog.com covers, although everything in a very neat and a processed way so that our readers get exactly what they want, still there are meager chances of basic issues that may arise out of the listed steps here. Hence it is in the sole interest of the user to follow the steps very cautiously to stay away from any mishappenings with your device. Rooting certainly without any doubt voids your device’s warranty and AndroidWeblog.com in no way will be held responsible for warranty void or your bricked device.
Root Gionee Elife E6 Smartphone Steps
Step 1: First of all, you must download the Framaroot.apk which is mandatory to install on the phone to achieve root. You can download the same rooting tool (apk) from this link.
Step 2: After downloading the apk file as described in Step 1, move it to the smartphone.
Step 3: After you transferred the file to your smartphone, just install it and then you will be able to see various options, for example, you can check the options like ‘Install Super SU’ which you need to select to move to the next step.
Step 4: Next, just click on the option named ‘Boromir’ followed by selection of Super SU option.
Step 5: Now, just reboot the smartphone, and once it successfully boots up, you will notice that the device is rooted successfully.
Note: If you want to confirm whether the device is rooted or not, then you can simply download and install the app ‘Root Checker’ from the Google Play store.
Steps to Install ClockworkMod Recovery (CWM) in Gionee Elife E6
Step 1: Just download the Recovery File from the provided link. Download Link.
Step 2: Now, simply connect your E6 smartphone to the computer. When you will connect the data cable, you will get the options on the display, in which just select Mass Storage or USB Storage option.
Step 3: After connecting the phone, open the phone memory (Internal SD card) of the phone, and copy the Recovery File here.
Step 4: Now, go to Play Store, search for ‘Mobileuncle MTK Tools’ app, and then install it. After download, open the same app and then select recovery update from the internal storage of the phone.
Step 5: Just, reboot the device. The phone will start in recovery mode. If you are not already aware, you can only navigate with Volume up and Volume Down buttons in recovery mode, and we must use Power button.
Step 6: Now, just select the option ‘reboot system now’ followed by power button to select the same. The device will reboot, and once device boots up you will notice that the Gionee Elife E6 is successfully rooted and CWM (ClockworkMod) Recovery is also flashed in the phone.
We assume that the process went smoothly in your case, and you have rooted your device. In case, if you faced any issue, then just comment below, and we’ll do our best to help you out.


