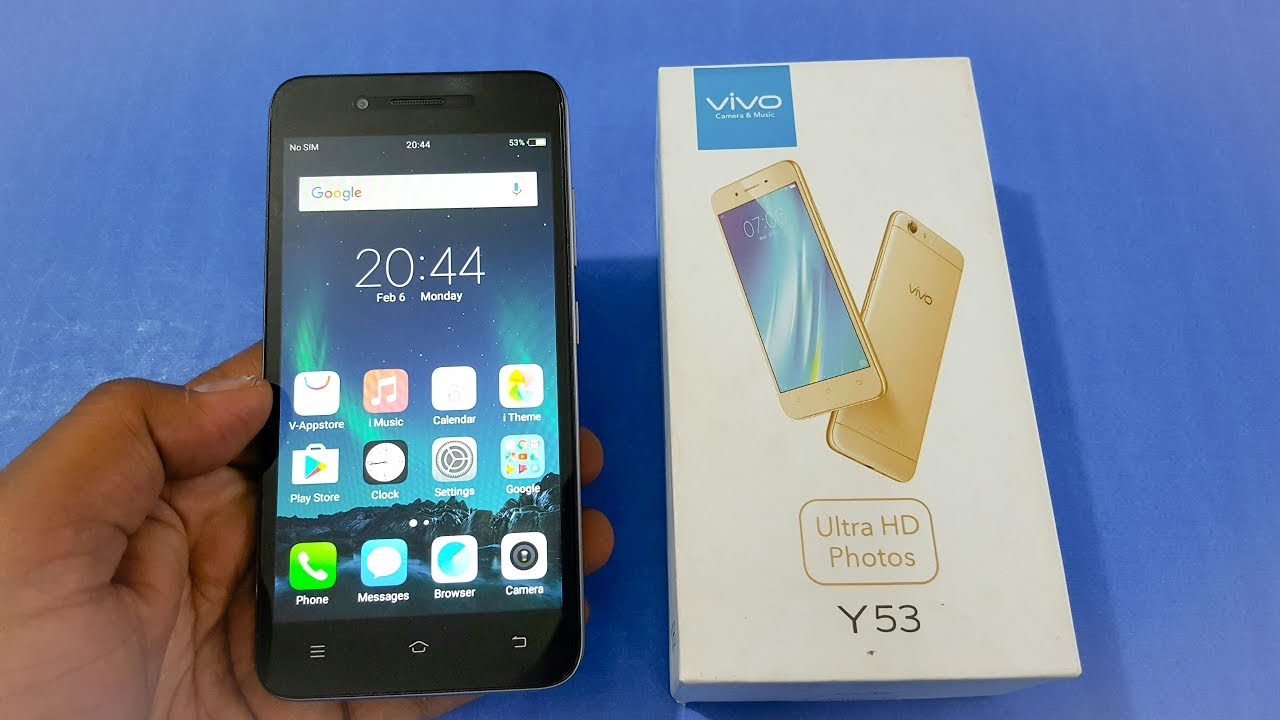
If you own a Vivo Y53, and also looking to root the device, then you are on the right page.
The Vivo Y53 smartphone comes with Premium Unibody Design, which makes it feel elegant with refined touch, with curved edges and slim body with sleek lines. Unlike most of the metal smartphones available out there, the Vivo Y53 features Triple Card Slots. Means, it supports Dual-4G SIM and microSD Card up to 256GB. There is a Eye Protection Mode, which filters the blue light to prevent eye strain. The Vivo Y53 supports VoLTE, and runs on Snapdragon 425 processor, coupled with 2GB of RAM, and Android 6.0 Marshmallow. The main camera is 8 megapixels with Ultra HD technology, which makes camera to render up to 32 megapixel photos, while retaining the clarity.
If you are an Android Enthusiast, and want to Root your beloved, then you have landed on the right page. In the due course of the article, we will guiding you through the process to root Vivo Y53 .
If you want to unleash the full potential of the hardware of your Vivo Y53 , then rooting and flashing custom recovery like TWRP is the main concern. The Stock ROMs have often limited and unsupported features in the sense of Customization. When you have a rooted device and also flashed TWRP recovery, then you are free to install any Custom ROMs, Mods, Kernel, and Xposed etc., as well as many apps which requires root access to work properly. You can easily root the device with One Click Android Root Tool, with either via PC or through the APK, which is a quick process.


Table of Contents
Prerequiste
Ensure to check your model number, which must be:
- Vivo Y53
You must have to ensure that prior to rooting your phone , you have read thoroughly the disclaimer and you agree to proceed further on your risk.
- Phone Should be Charged
Your phone must be 70% charged at least, else, it may lead to complications sometimes while experimenting. Why to take risk, try to charge it fully.
- Back Up
If you are either going to root your phone or install a Custom ROM, it is a good habit to make a back up of your phone. Make a back up of all your media like images, videos and all on your PC and your contacts on Cloud.
- Enable USB Debugging
(Applicable only for PC method, Skip if you will use APK method)
You must enable USB debugging option by going in to Settings, Applications and Developer options.
Downloads For Rooting Vivo Y53
Download the device drivers from the manufacturer’s website, otherwise the KingRoot PC will install the drivers in your computer. (Note: App method doesn’t require any drivers, because it works without PC)
Download KingRoot APK for Android from here.
Download KingRoot for Windows from here.
Procedure to Root Vivo Y53 (Without PC with KingRoot APK)
Make sure that you have downloaded the required files (link in pre-requisite section of this article). Then, proceed to the steps.
Step 1: Open the browser of your phone and enter the address: kingrootapp.net. Then Download KingRoot APK for Android.
Step 2: As soon as KingRoot download would complete, then immediately tap on the drop-down notification bar to begin installation process.
Step 3: If by-default your device was set to ‘Install Blocked’, then you might get message ‘installation blocked’. Don’t bother just tap on ‘Install anyway (unsafe)’ to skip the same, or manually enable the the installation in the settings. Settings>Lock screen and security>Unknown sources and enable the same.
Step 4: After enabling the installation, you will be prompted with ‘KingRoot’ installation screen. Just tap on ‘Install’ to begin the installation process. After the installation is complete, tap on ‘open button’ and this will start the KingRoot app.
Step 5: Without wasting any time, tap on ‘Try it’ button followed by ‘Get now’ just below ‘Root access not available’. This will start the rooting process.
Step 6: Now, rooting process has been finished and completed. After your device is rooted, you will return to the main screen, and this will finish the rooting process.
How to Root Vivo Y53 (With PC with KingRoot for Windows)
Step 1: Run the ‘KingRoot for Windows PC’ setup file and install the software. After installation process completes, click on (completed to complete the setup.
Step 2: After enabling the USB Debugging Mode ‘On’, connect your Vivo Y53 to the computer via USB cable. After the device is plugged in, the KingRoot will automatically detect the Model number and Android version of the device. If your computer have already driver installed, then it will be a quick process, otherwise KingRoot will install drivers (Internet Connection required).
Step 3: If USB Debugging Mode is already enable, then you will see the ‘Root (Attempt to root) buttons on the screen. Just click on the ‘Root’ button and this will begin the process.
Step 4: Monitor the rooting process with progress percentage bar, and the process will be completed in few minutes. The device will reboot several times during the process.
Congratulations, now you have rooted Vivo Y53 . Now, you can install Xposed Framework, and customize your smartphone as per your preference. If you wish to verify, you may download and check the Root Status through Root Checker app.